
This is a great place to start. We did the hard yards so you don’t have to make the mistakes we did and trust us, there was a lot.
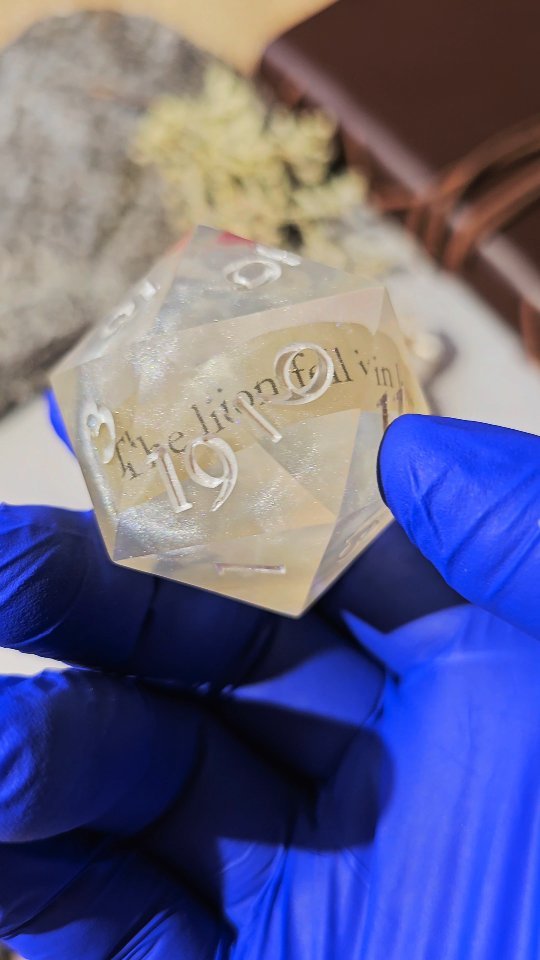
So you want to try
Dice Making?
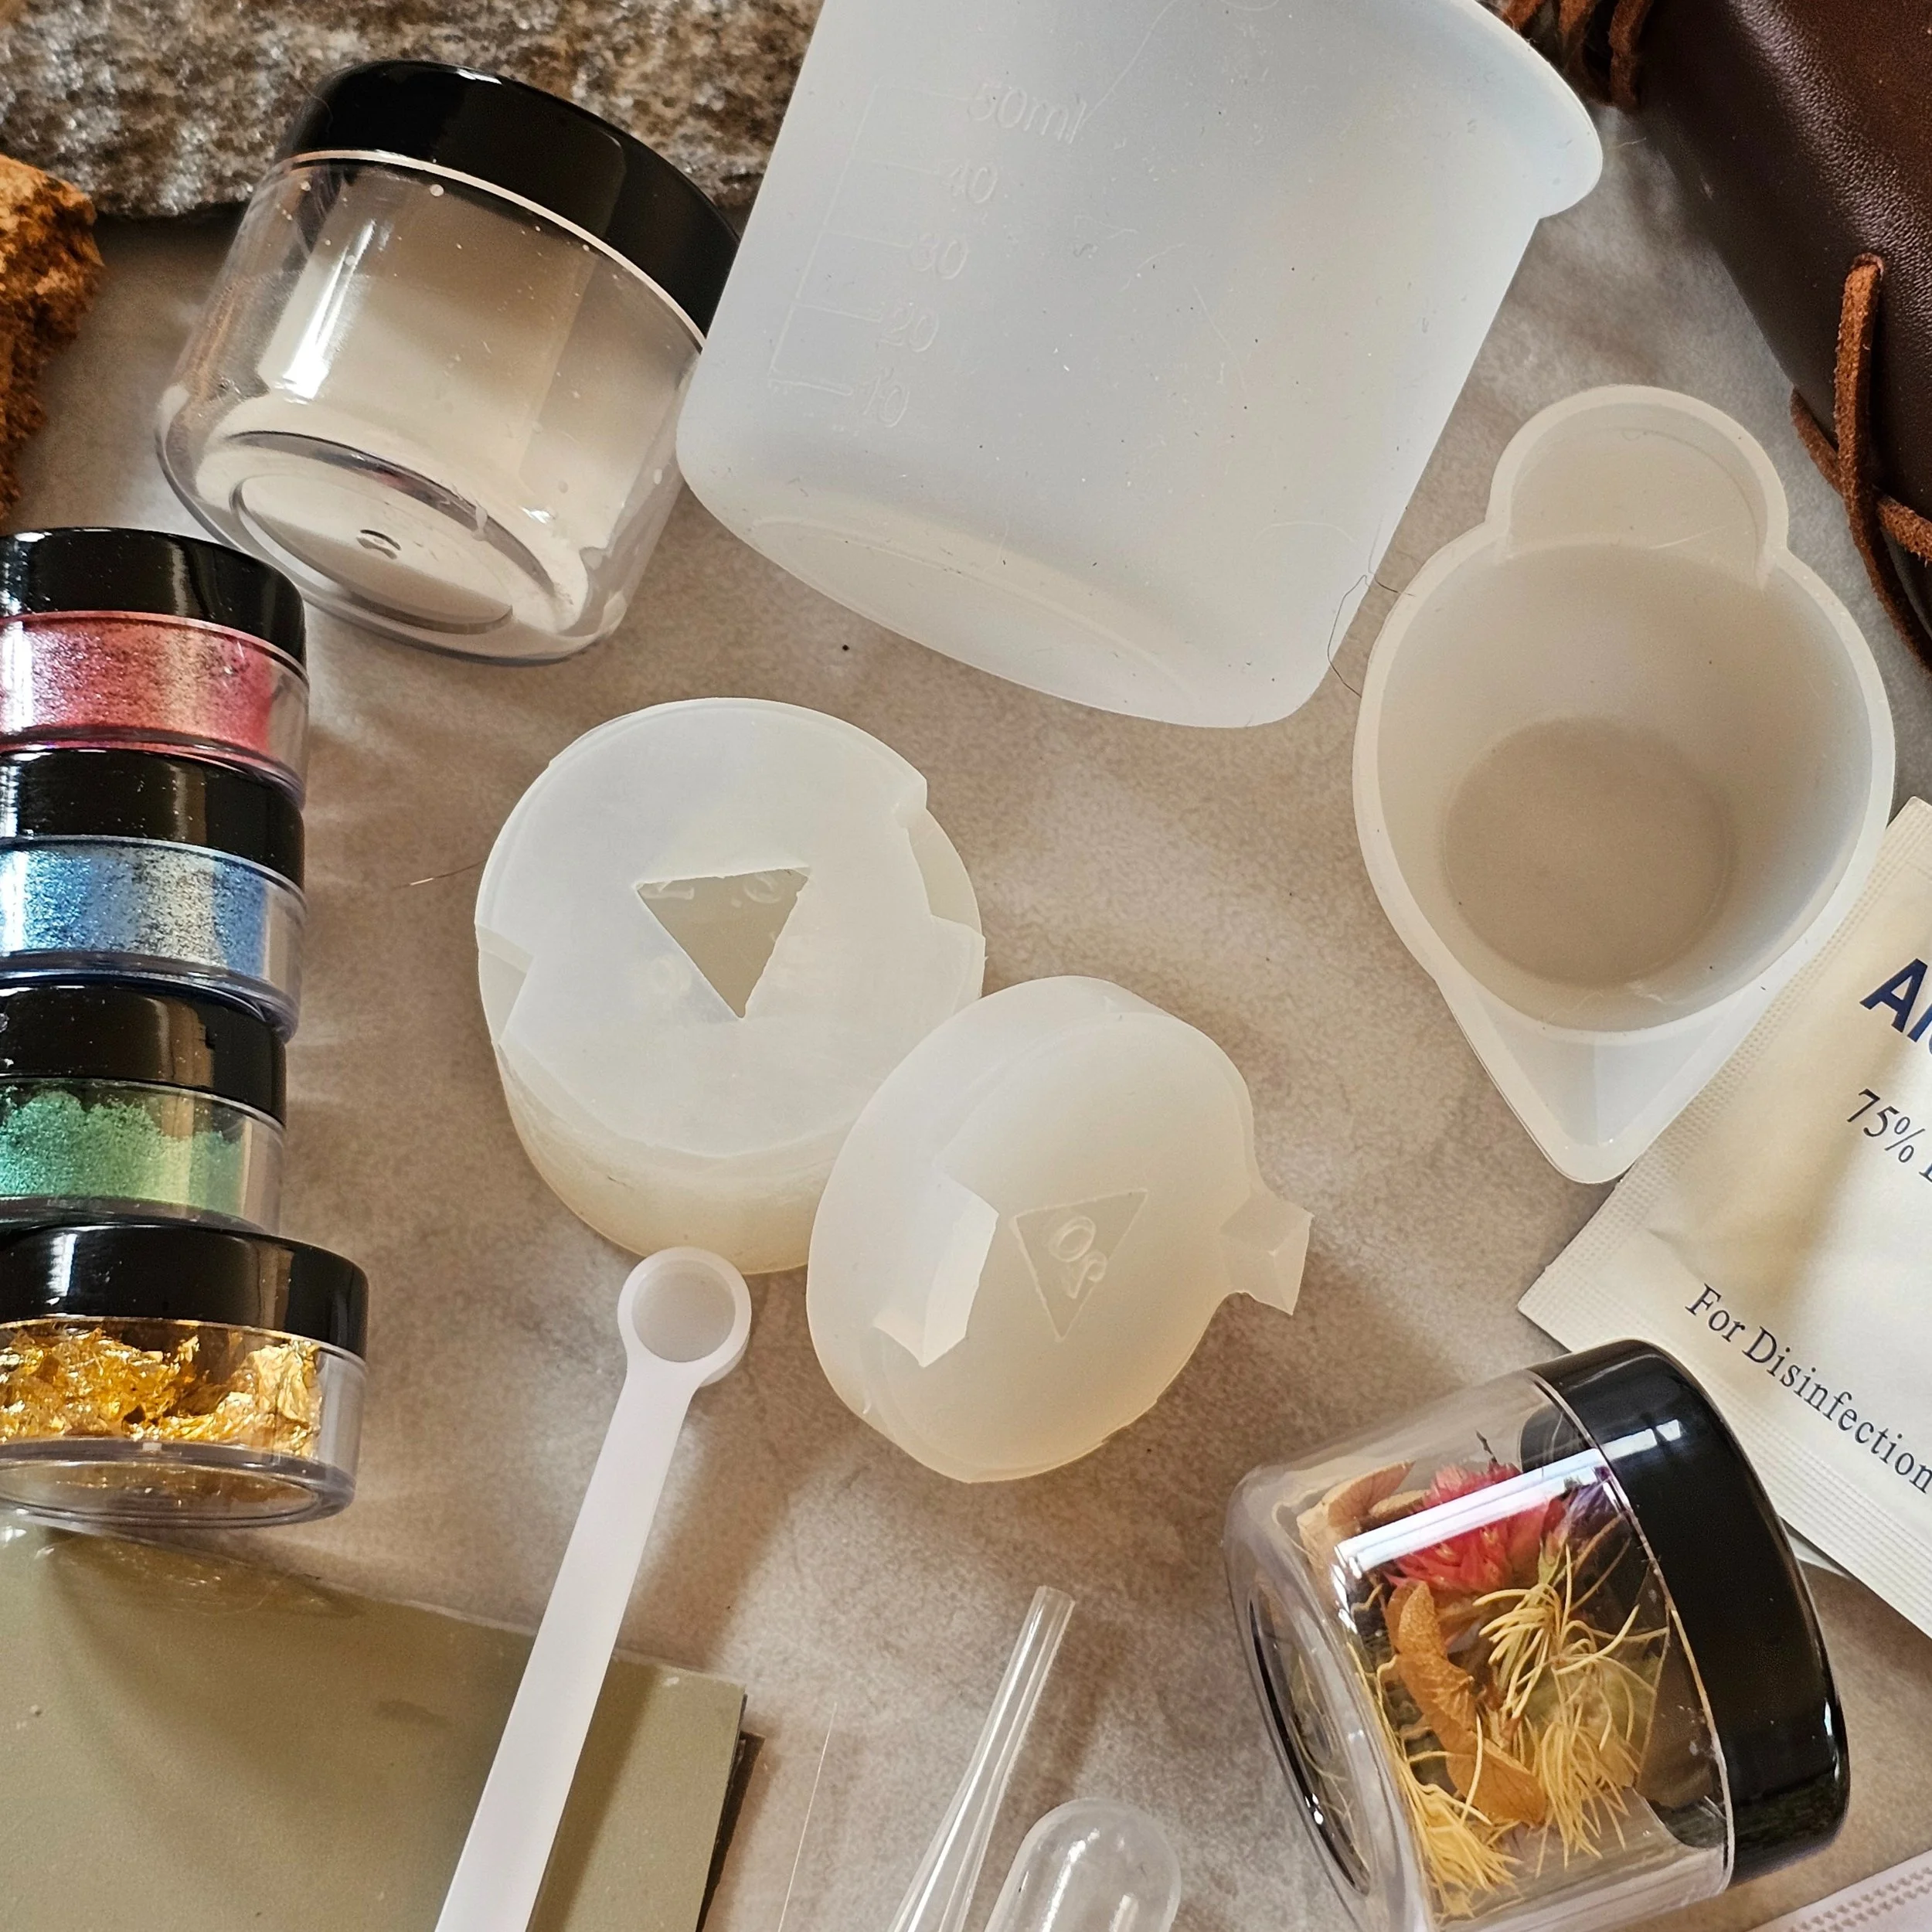
1x Silicone Dice Mould
1x Silicone Pouring Cup
1x Silicone Mixing Cup
3x Mica Powder Pots
1x Dried Florals Pot
1x Gold Foil Pot
1x Polishing Compound
3x Sanding Papers (500-2000 Grit)
3x Polishing Papers (3000 - 7000 Grit)
1x Measuring Spoon
2x Pipettes
2x Wooden Stir Sticks
2x Alcohol Wipes
2x Tooth Picks
What’s included in your kit:

⚠️ Resin Safety Checklist – Read Before You Begin! ⚠️
Working with resin is fun, but safety comes first! Follow these essential precautions to protect yourself and your workspace:
✅ Work in a Well-Ventilated Area – Resin fumes can be harmful. Open windows, use a fan and work in a ventilated space.
✅ Wear PPE (Personal Protective Equipment) – Gloves, safety glasses, an apron, and a mask (with respirator) to help protect your skin, eyes, and lungs. This is the recommended PPE from most manufacturers but if you’d like further information, the Safety Data Sheet for Resin can be found online.
✅ Cover Your Workspace – Resin is sticky and difficult to remove from surfaces (trust me, we know all too well). Use a silicone mat, plastic sheets or baking paper as a cover.
✅ Keep Food & Drinks Away – Avoid accidental contamination—resin isn’t safe to ingest and I doubt it tastes good by any means.
✅ Store Resin Safely – Keep it sealed and out of reach of children and pets.
✅ Handle Heat Carefully – Resin gets warm while curing. Don’t place it near flammable objects or touch it while it’s reacting.
✅ Wash Off Spills Immediately – If resin gets on your skin, wipe it off with isopropyl alcohol and wash with soap and water.
Resin is a hazerdous substance. Ensure you read and understand all safety requirements and suggestions by the resin manufacturer before working with it.
Now that you're prepped, let’s get crafting!
Getting Started
Read all the way through before starting!
QUICK TIP: Before mixing, warm up your Part A & Part B resin in a tub of warm water. This thins the resin and reduces the ability for bubbles to form and get trapped when stirring. Always check what type of resin and the mixing/pouring instructions as this may vary between manufacturers.
Mixing & Pouring Your Resin
1️⃣ Mix Carefully: Combine equal parts Part A & Part B Resin (or as per the resin instructions) and stir slowly until fully blended—no streaks!
A single D20 requires approx. 10g of Resin (5g Part A + 5g Part B)
A full 7 Dice Set requires approx. 40g of Resin (20g Part A + 20g Part B)
2️⃣ Take Your Time: You generally have 30-45 minutes of working time, so experiment with colours and inclusions.
TIP: As resin begins to cure, you’ll notice it gets thicker but is still malleable. After a time, you’ll reach a point known as the “honey spot.” The resin is thicker than when it’s first mixed so you can add in items you wish to be suspended and not sink/float around. But be careful! If you leave it too long, then it may flash cure or not cure properly.
3️⃣ Pour High: Pour resin from 20cm above in a thin stream to help bubbles escape and don’t forget to overfill each dice ever so slightly, leaving a slight dome of resin on top. This helps reduce voids as resin shrinks while curing.
4️⃣ Cap & Cure: Secure the mould cap, pressing down so the cap is flush with the base, but be careful not to use too much force as it will push resin out of the dice moulds.
TIP: Add a thin layer of resin to the dice faces on the lid before securing it, this will help ensure the faces are fully covered and reduce chances of bubbles breaching the surface.
5️⃣ Curing: Cure time will depend on resin used, check the cure time on the bottle(s). If using a pressure pot, pressurise to 45 psi and leave until cured. If you do not have a pressure pot, don’t worry.
NOTE: There’s a LOT of variables when in comes to dice making and failures happen VERY often, even to the pros. Don’t be disheartened, voids, stretched edges, too thick of flashing and countless other things go wrong, but everything can be fixed and every pour means a new chance to create something better.
Finishing Your Dice
Sanding: Put a few drops of water on your lowest grit sand paper and make even pressured circles until excess resin is removed. After approx. 30 passes or when you’re happy with it, move onto the next sandpaper in ascending order of grit (Higher = Smoother finish). Once you’ve completed the 2000 grit, move on to Polishing. TIP: Turn your dice every few passes incase you’re favouring one side accidenatally. Check your corners to make sure you’re not flattening them too much.
Polishing: Place a small dab of polishing compound on your paper and polish in a firm circular motions the same as you did sanding. Once you’ve completed all 3 sanding papers, buff each face with a small amount of polishing compound and a microfiber cloth.
Inking: Fill in numbers with lightly watered down acrylic paint or acrylic inks, then wipe off the excess and clean with an alcohol wipe.
Need Help? Please reach out!
Tag us or send us pictures on Instagram @MerchanDICE_AU – We’d love to see your shiny new handmade dice!
Every great creation starts with an idea and a little inspiration
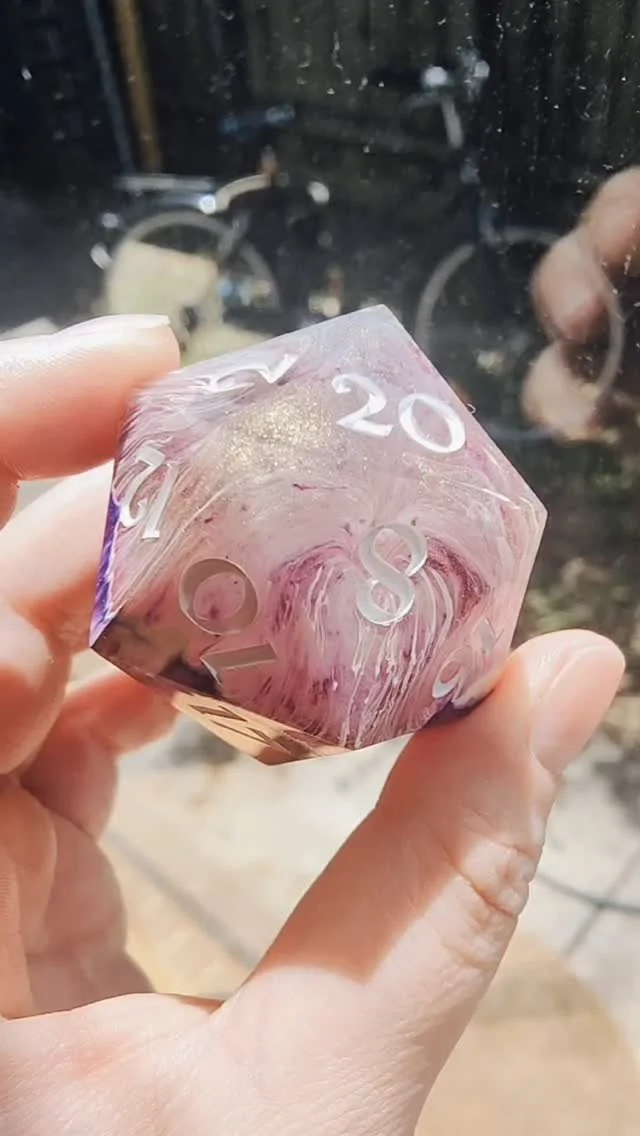

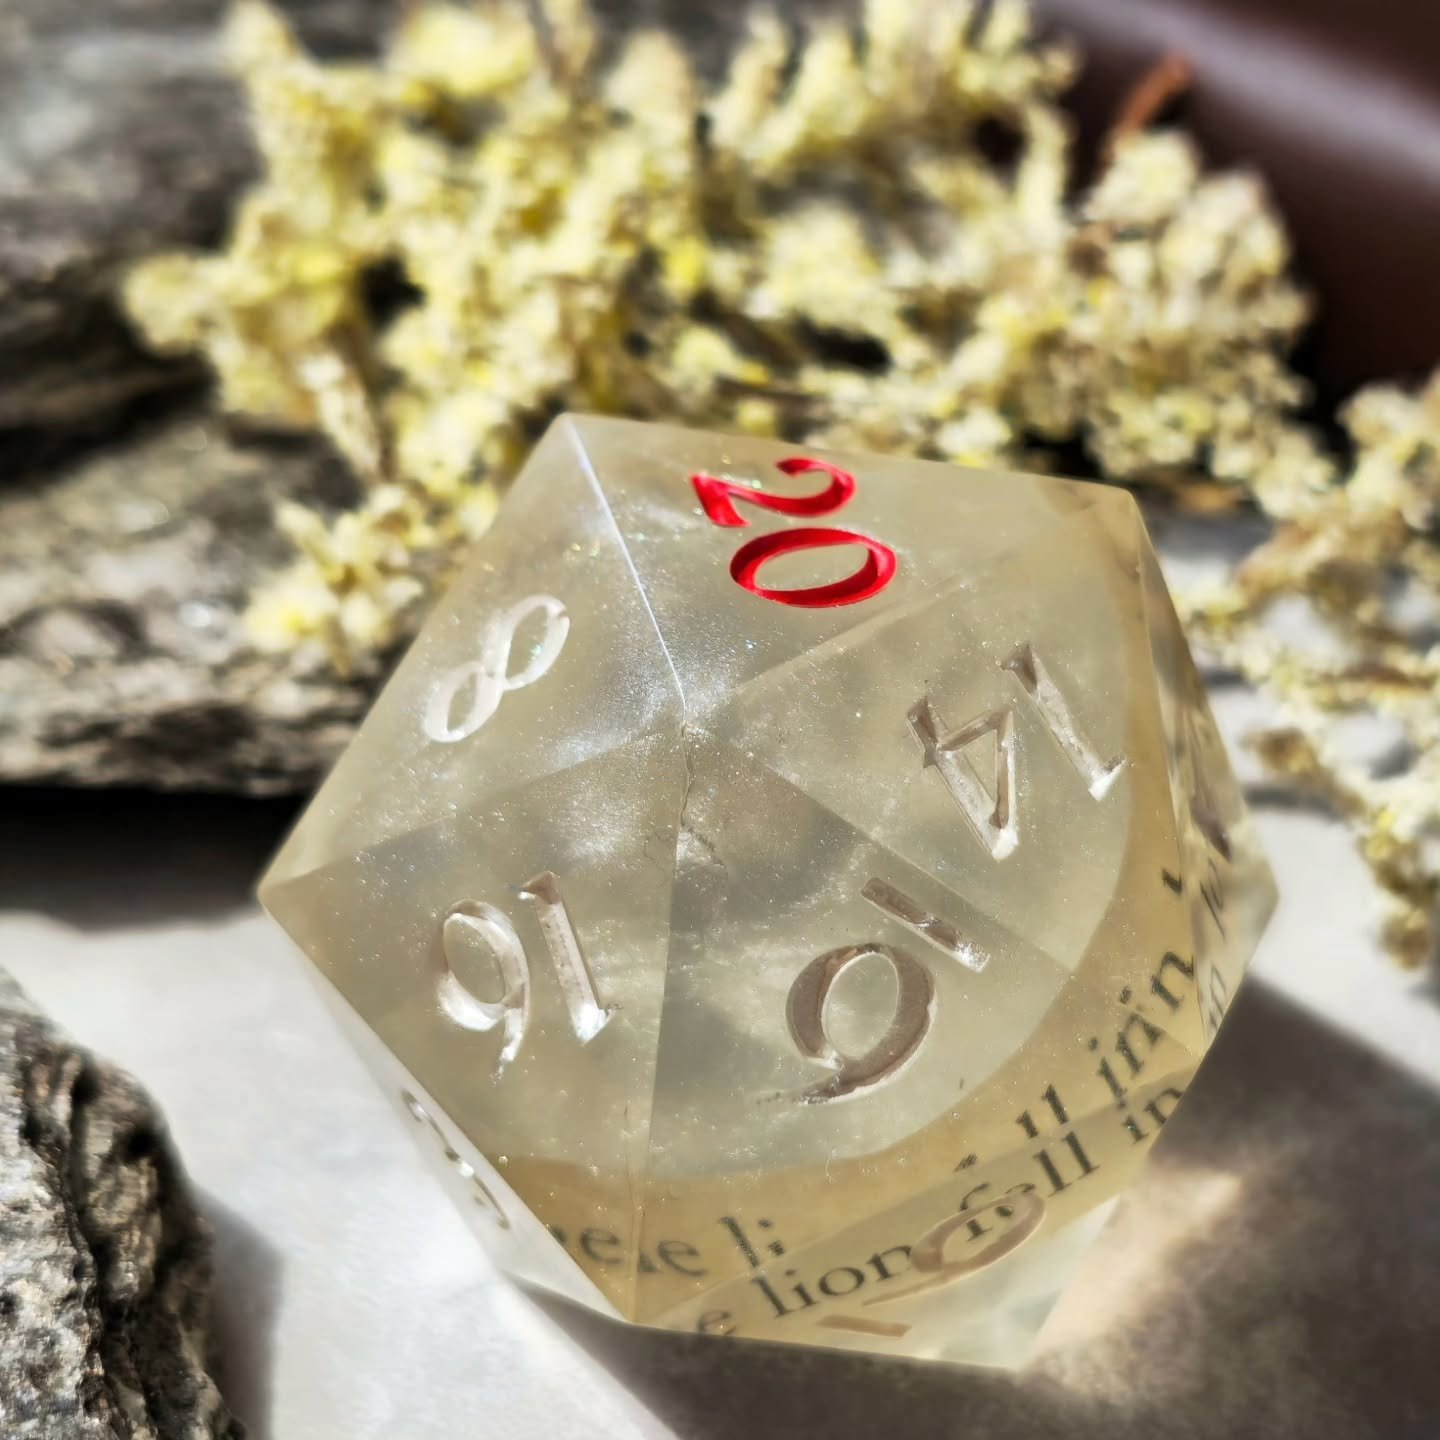
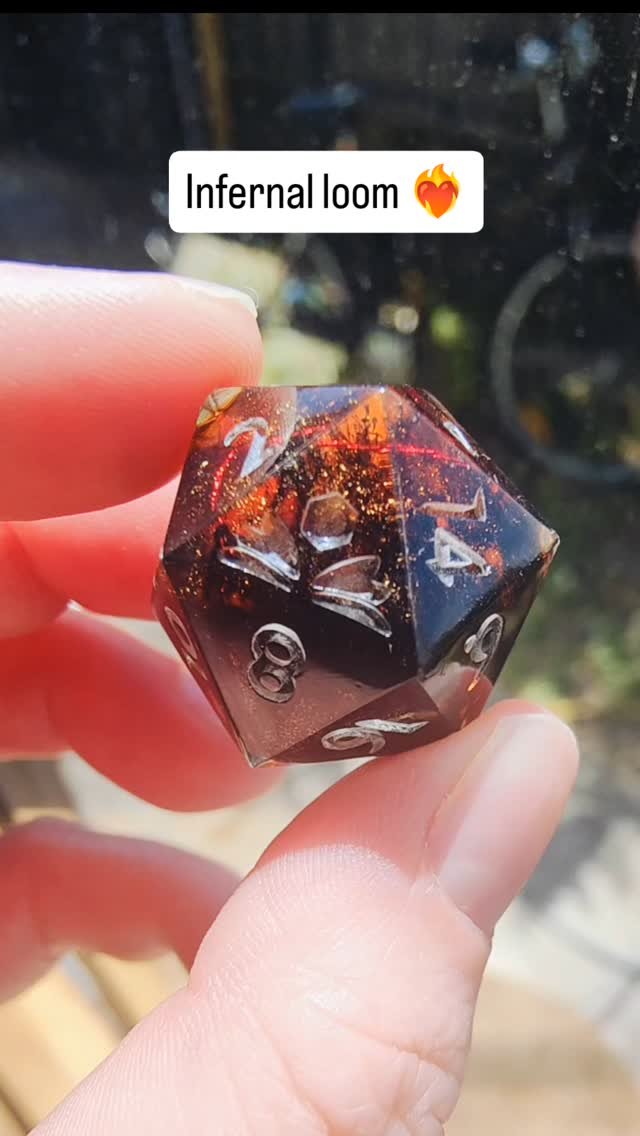


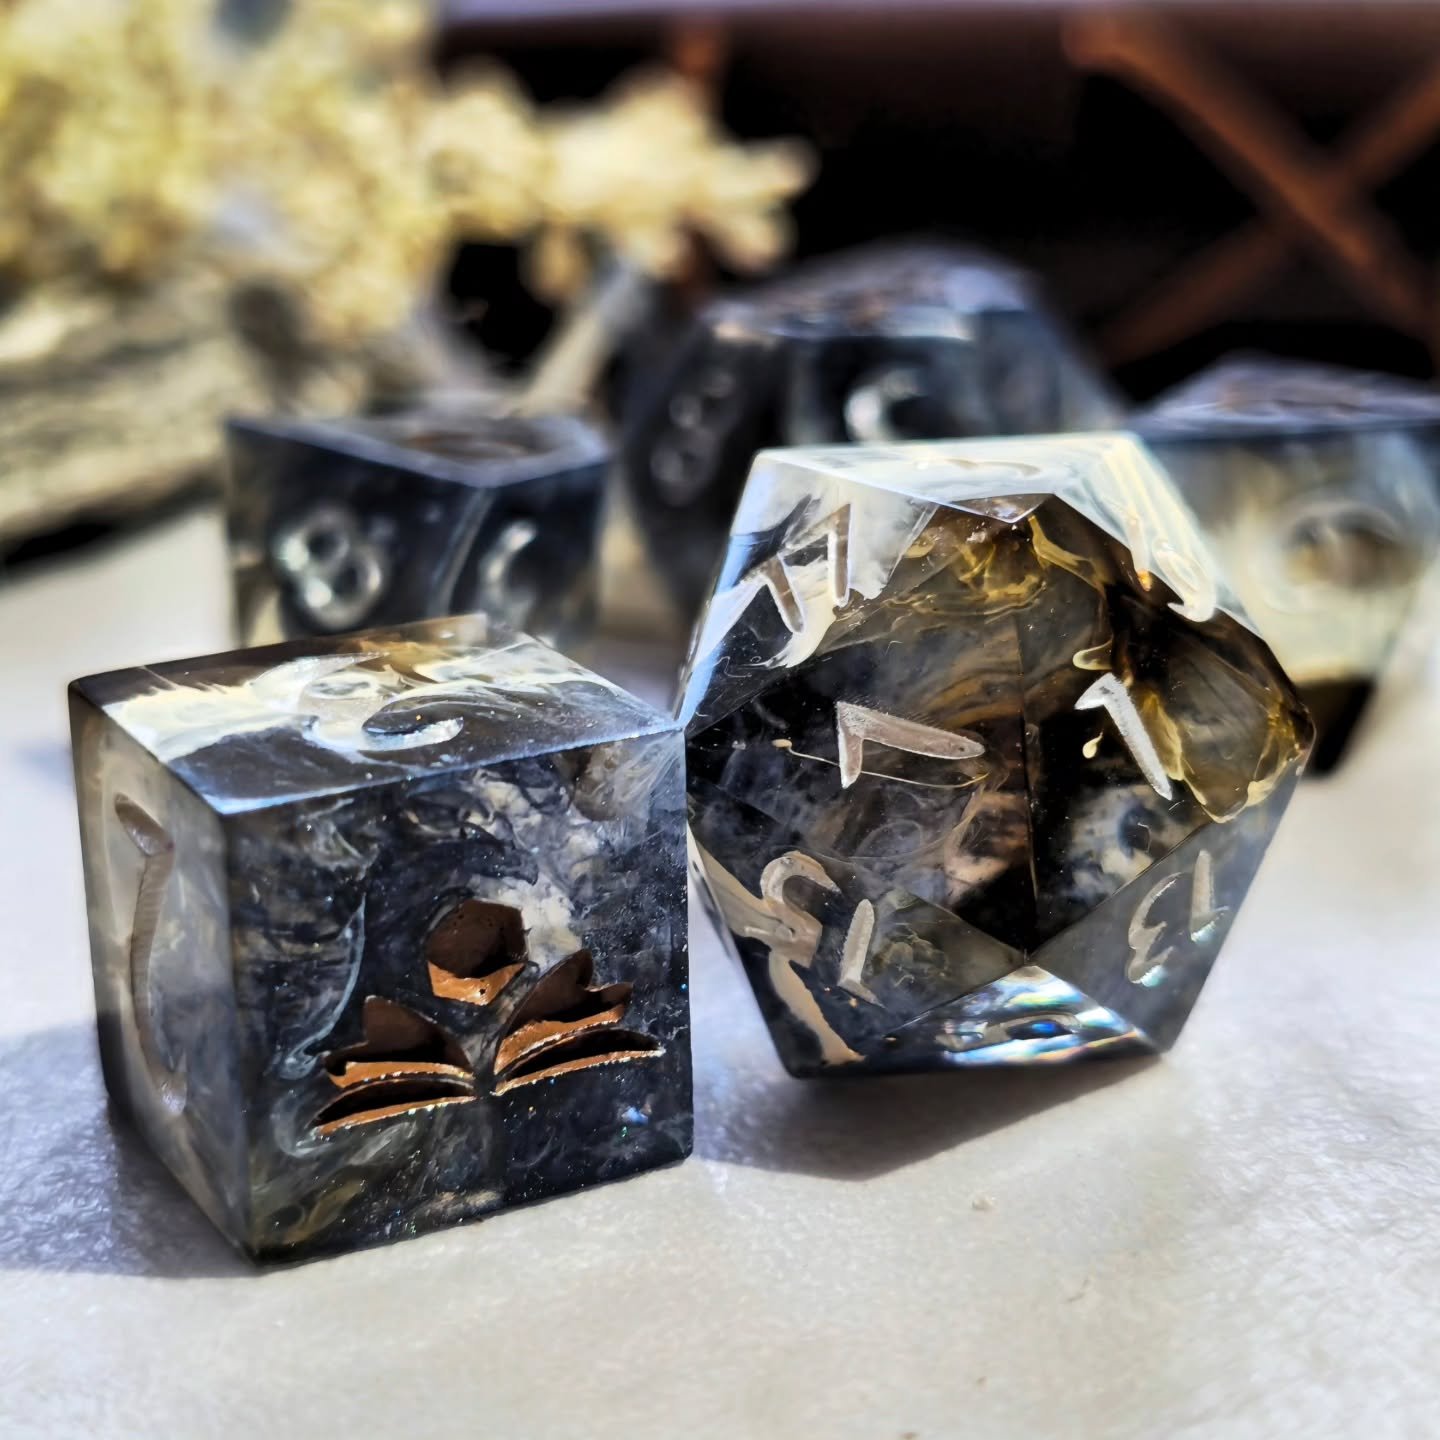


Ready to take your dice making to the next level?
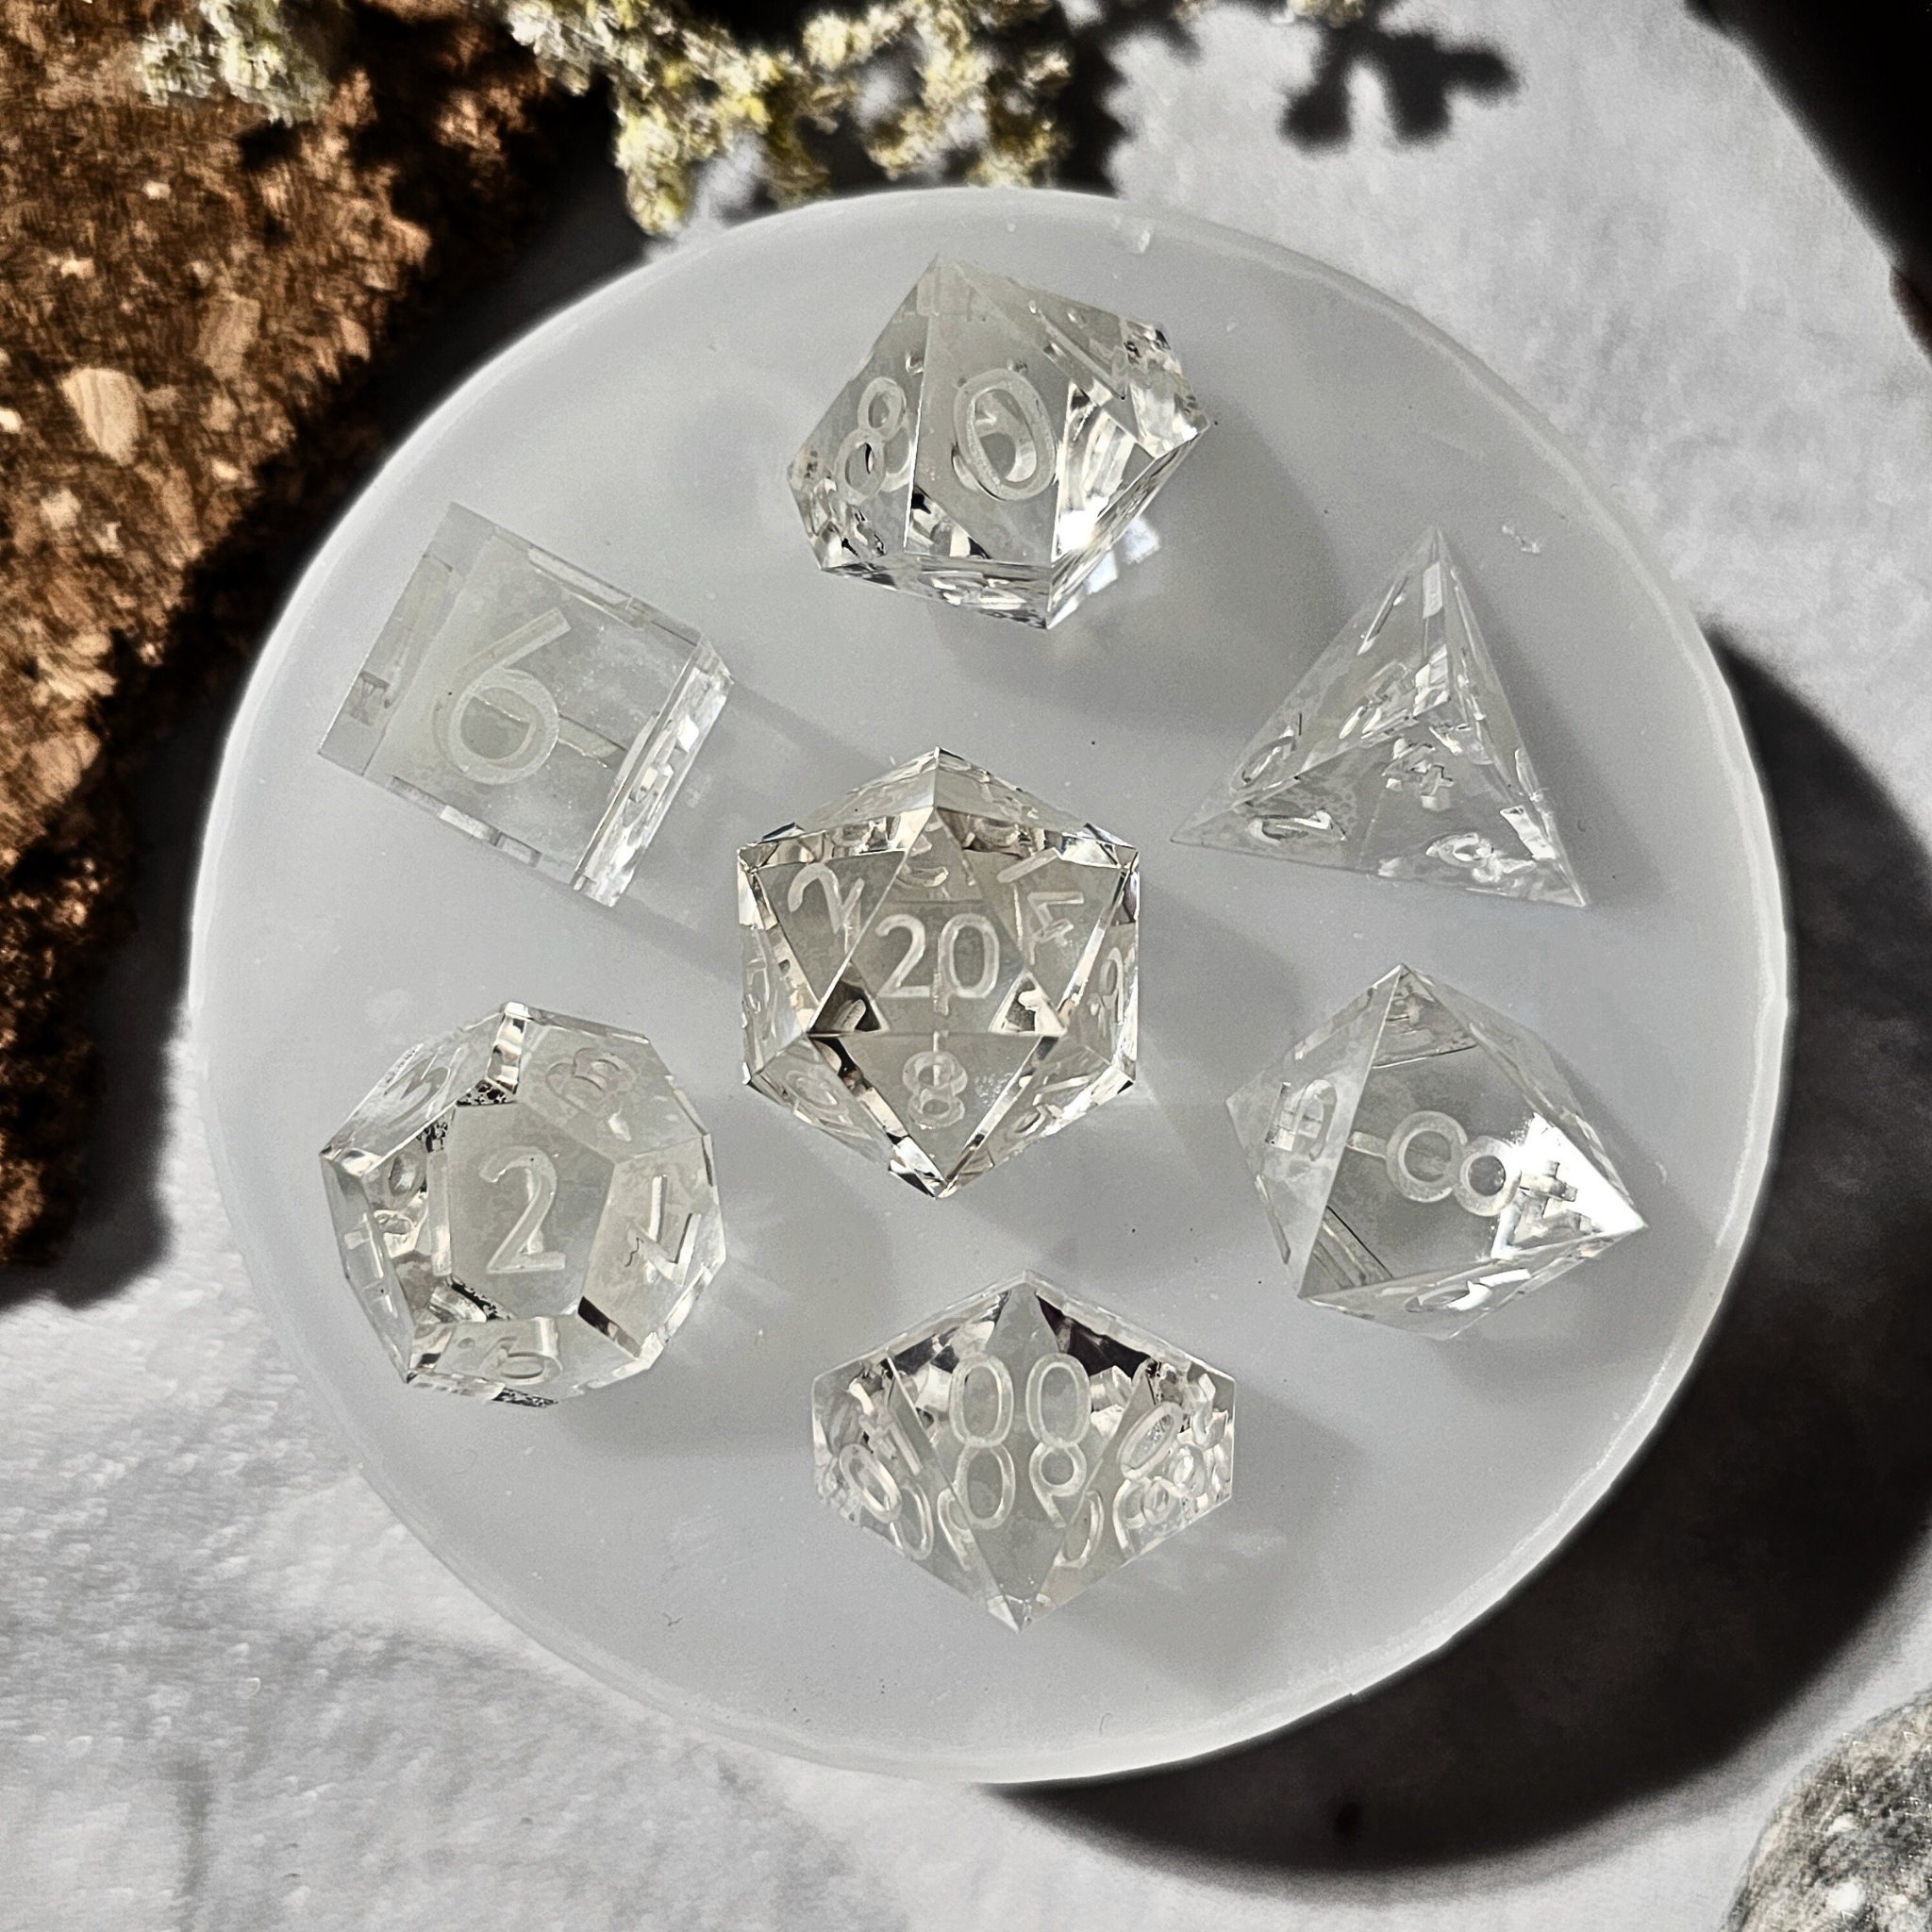
Sharp Edges Silicone Polyhedral 7 Dice Mould for D&D, Pathfinder and other TTRPG - Hand-Crafted
TAGS: Polyhedral mould for D&D Resin Dice Making
**THIS MOULD IS SUITABLE FOR USE WITH OUR BLANKS / INSERTS**
Introducing our silicone dice mould set, perfect for tabletop gaming enthusiasts who want to create their own custom polyhedral dice sets with sharp, professional edges. This mould casts the following shapes: d4 (regular), d6, d8, d10, d%, d12, and d20.
Made from durable silicone, this mould will allow for endless customization options. Mix and match colors, add glitter, or even embed small trinkets inside for a truly one-of-a-kind set. The finished dice will have a glossy finish and sharp edges, making them not only fun to use but also a beautiful display piece.
Upgrade your tabletop gaming experience with this silicone dice mould set. It's a must-have for anyone looking to add a personal touch to their games.
**Please note that due to the handmade nature of our products, shipping times may vary and there may be minor imperfections. We do our best to get orders shipped out as soon as possible and to create high-quality products, but please allow for extra time for us to craft your order with care. We appreciate your understanding and support of our handmade products.**
**You can sell the dice created using these moulds, however, you cannot sell dice moulds using dice made from these moulds**
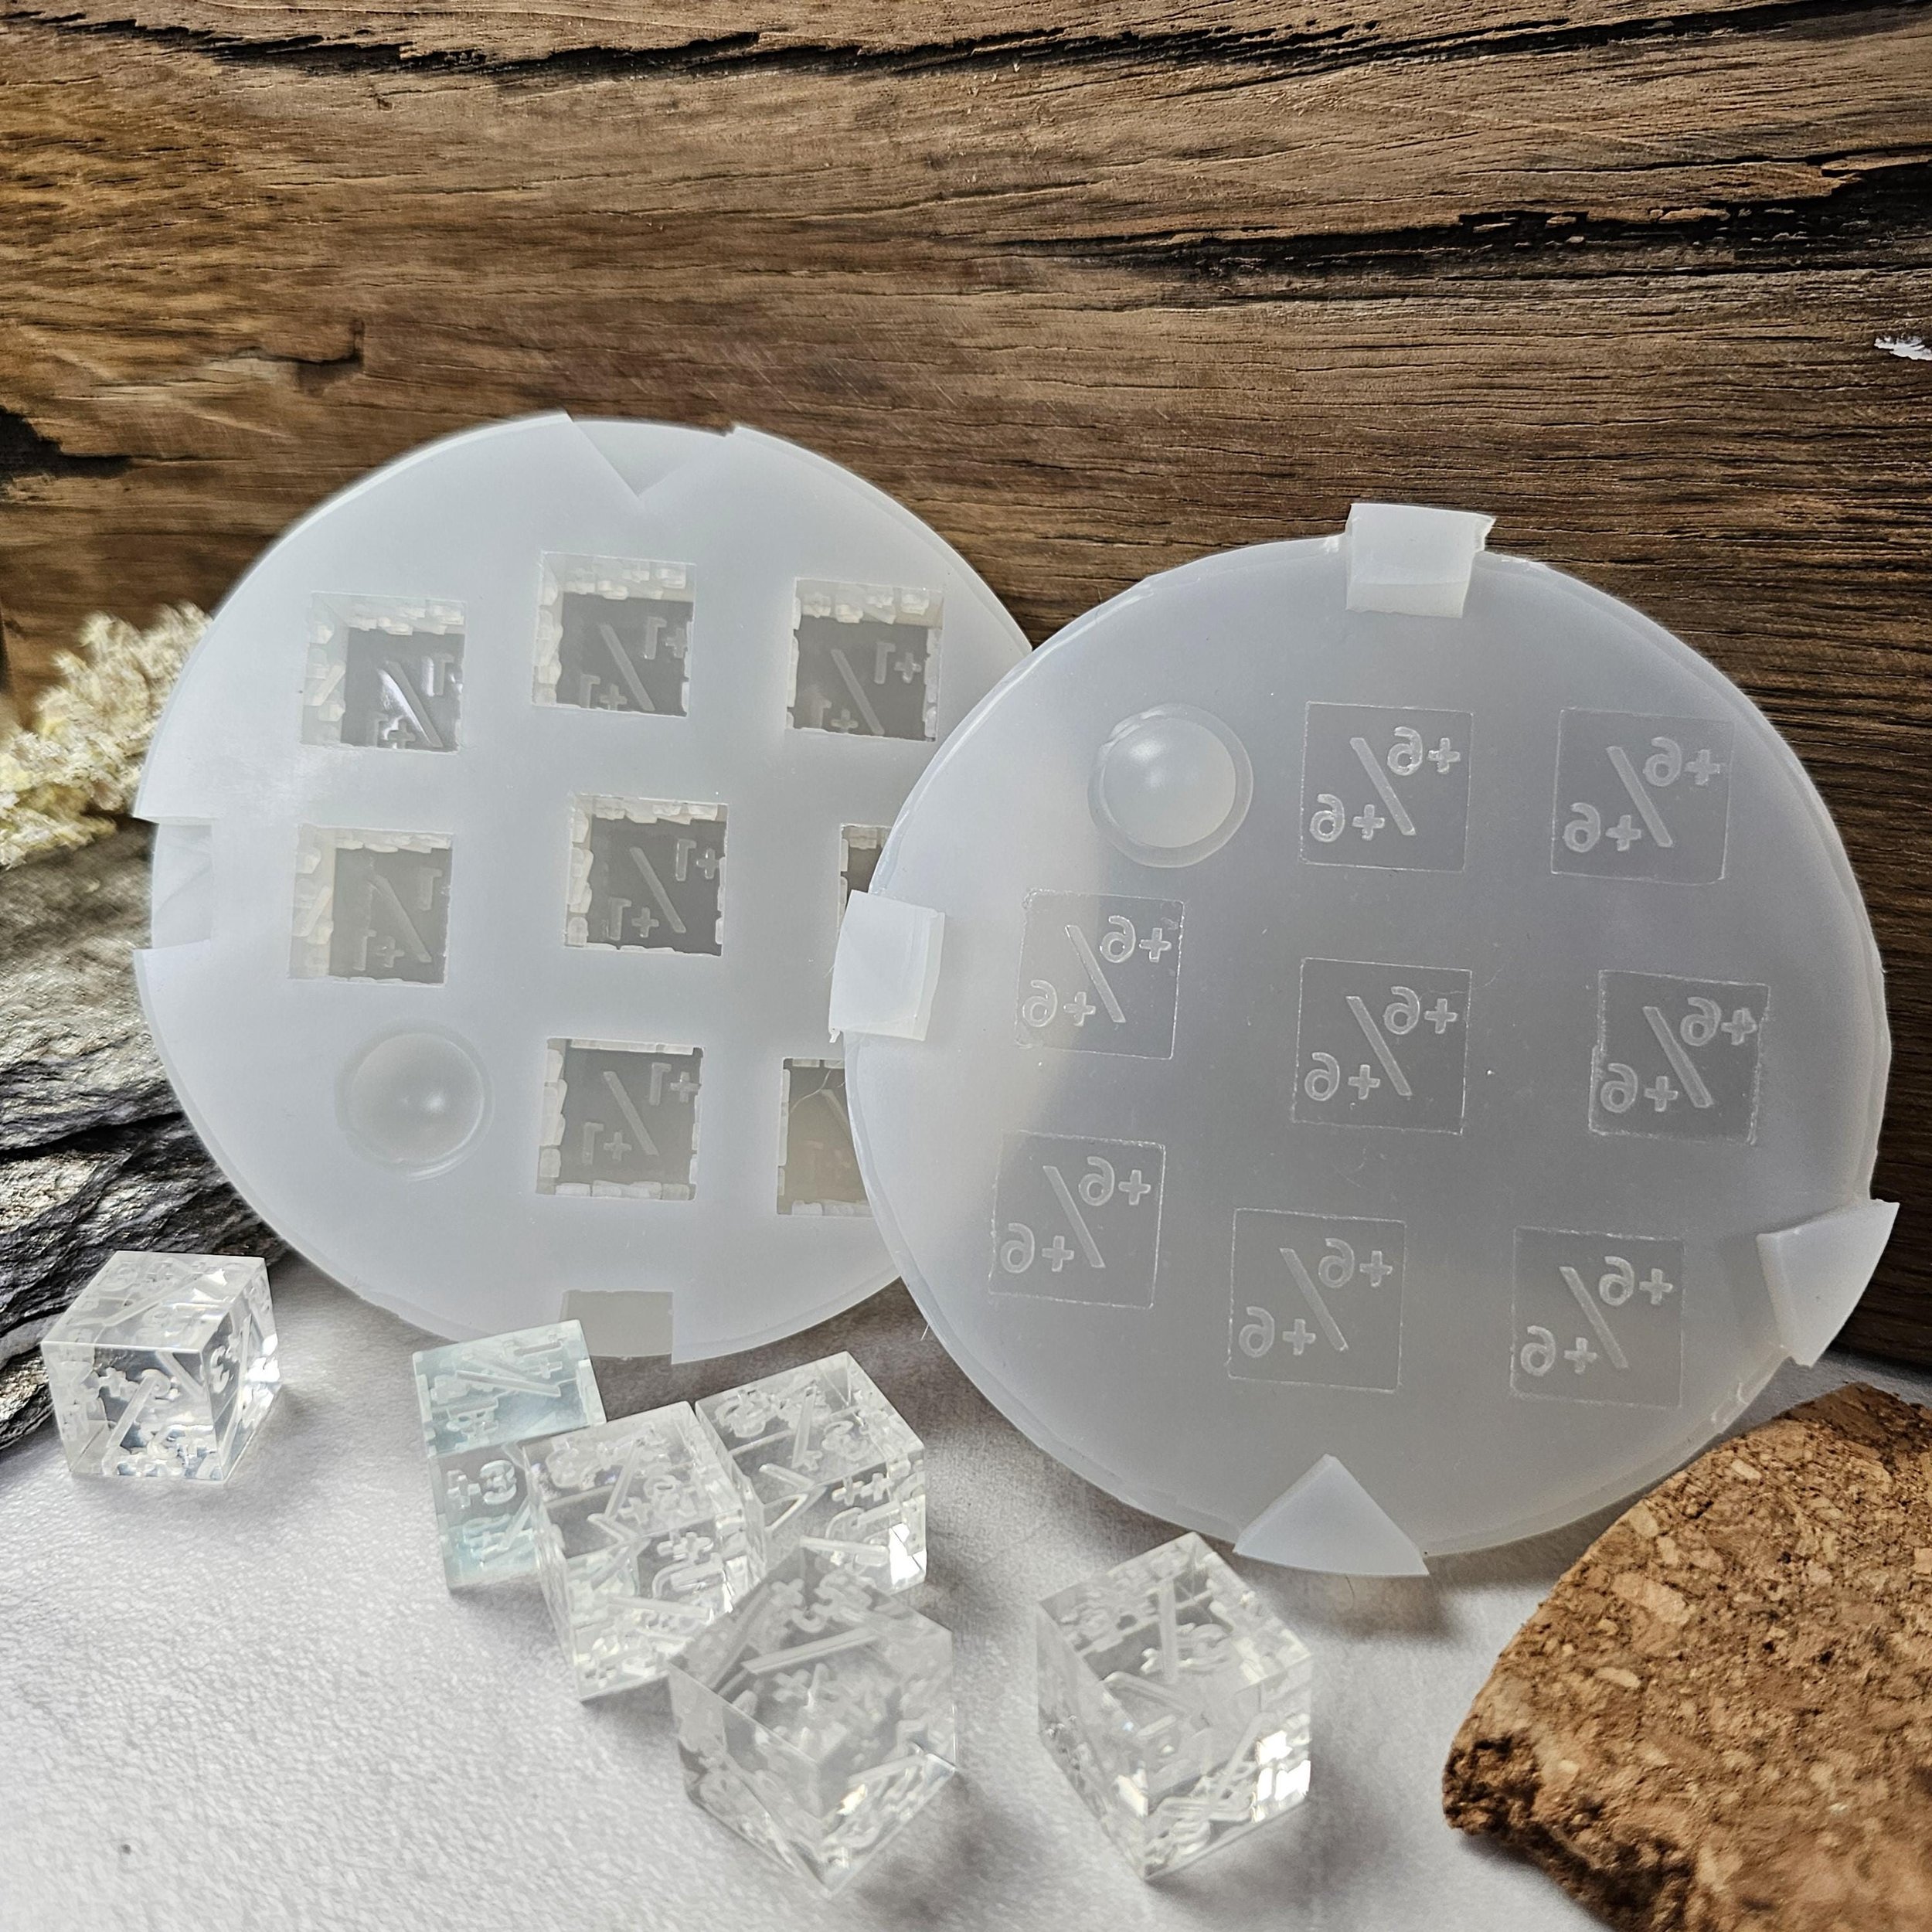
Sharp Edge Silicone 8d6 Slab Dice Mould for Magic: The Gathering - Hand-Crafted
TAGS: Sharp-Edge D6 Custom Counters | For Tabletop & TCG Games Magic the Gathering
Introducing our custom 8d6 slab dice mould, specially designed for Magic: The Gathering players who want to craft their own unique dice. This silicone mould allows you to create a full set of eight d6 dice, perfect for enhancing your MTG gameplay or customizing your collection.
Made from high-quality silicone, this mould ensures precise, sharp-edged dice with a polished, glossy finish. Whether you want to experiment with different colors, add shimmering effects, or embed small objects, the creative possibilities are endless. The sharp edges and sleek finish make the dice perfect for both gaming and display.
Elevate your Magic: The Gathering experience with this premium 8d6 slab mould, a must-have for players looking to add a personal, handcrafted touch to their game.
**Please note that due to the handmade nature of our products, shipping times may vary slightly, and there may be minor imperfections. We strive to deliver high-quality products and appreciate your patience as we craft each order with care.**
**You can sell the dice created using this mould; however, selling dice moulds made from these dice is prohibited.**